San Francisco

Mysteries at the Museum: Zodiac Killer

MATMZK-TITLE

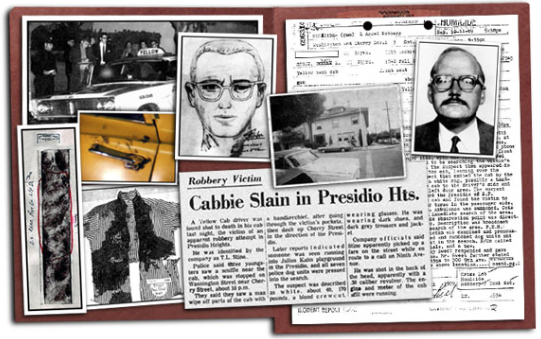
The Travel Channel featured a new episode of the series Mysteries at the Museum devoted to the Zodiac case. An episode synopsis posted at the Travel Channel website read: “Don Wildman searches for the identity of one of America’s most notorious serial killers. He meets with a retired inspector who worked on the case, learns code breaking from an expert cryptographer and reveals a new theory on who may be responsible.”

MATM-Oranchak

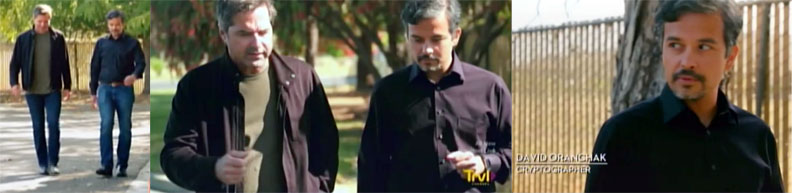
Don Wildman and cipher expert David Oranchak.

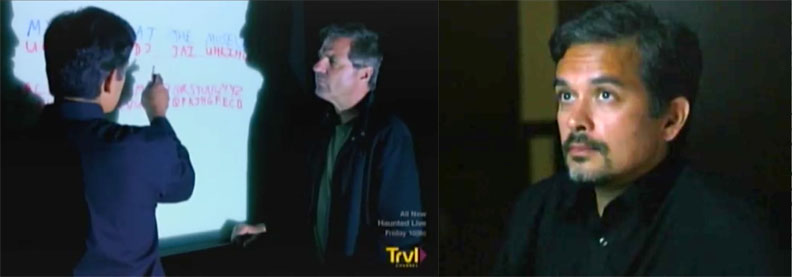
Host Don Wildman presented a basic overview of the Zodiac story and visited the four crime scenes. He also consulted with cipher expert David Oranchak. Wildman and Oranchak examined the Zodiac’s first coded message and the still-unsolved 340 cipher while discussing some of the killer’s methods as a cryptographer. 

MATM-Oranchak-2

During his tour of the Zodiac crime scenes, Wildman was accompanied by theorist Mark Hewitt, who also shared his theory that the Zodiac was Ted Kaczynski, the infamous “Unabomber” responsible for several bombings and three murders.

MATM-Hewitt

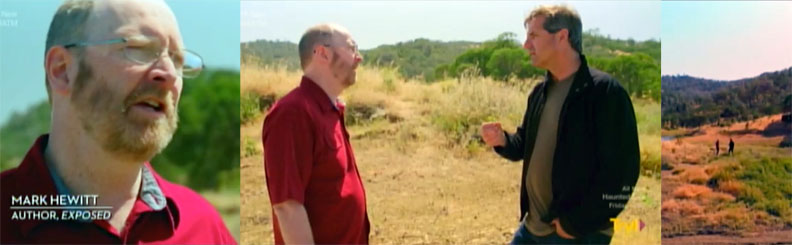
Zodiac theorist Mark Hewitt and host Don Wildman at the Lake Berryessa crime scene.

The episode promised a “new theory” regarding the Zodiac’s identity but Ted Kaczynski became a Zodiac suspect immediately after his arrest in 1996. Theorists Douglas Oswell and Michael Rusconi published a book about the possible “Zodiac/Unabomber connection” titled Dr. Zodiac, and others had promoted this theory over the years. The episode also included a brief recap of the theory that the Zodiac was Arthur Leigh Allen, the so-called “prime suspect” named in the books by Robert Graysmith and the 2007 film Zodiac.

MATM-Suspects

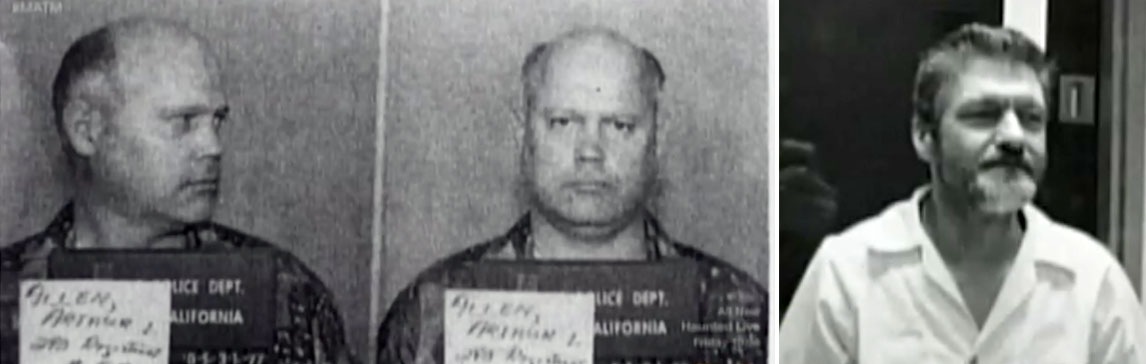
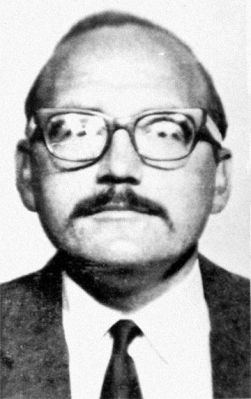
Convicted child molester Arthur Leigh Allen and Ted Kaczynski aka “The Unabomber.”

Retired San Francisco police Inspector Vincent Repetto joined Wildman at the scene of the Zodiac’s last known murder, the intersection of Washington and Cherry Streets in the Presidio Heights neighborhood of San Francisco. Repetto expressed his doubts that the Zodiac would be captured and said he believed the killer was most likely dead, but he also shared optimism that the case could be solved if new evidence was discovered or DNA identified the killer. 

MATM-Repetto

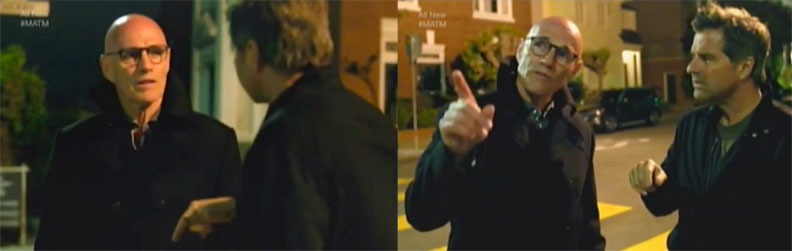
Retired SFPD Inspector Vincent Repetto at the scene of the Zodiac’s last known murder.

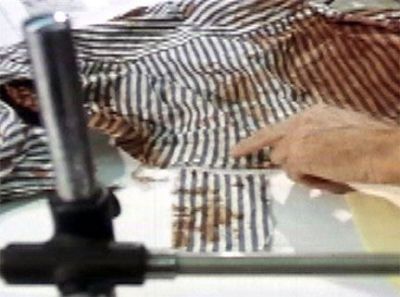
In the final segment of the episode, Wildman met with Gary Harmor, a DNA analyst at the Serological Research Institute who worked as a consultant on the Zodiac case. Wildman asked about the chances of finding sufficient DNA on old envelopes and stamps, and Harmor explained that new methods increased the odds of retrieving DNA from older materials. Harmor used an old envelope to demonstrate the methods used in the process. When asked about the reliability of this forensic process, Harmor replied, “It’s extremely dependable. The only thing that would hold up getting a type from the piece of evidence is not having enough good quality, reasonably good quality DNA to do the testing.”

MATM-DNA

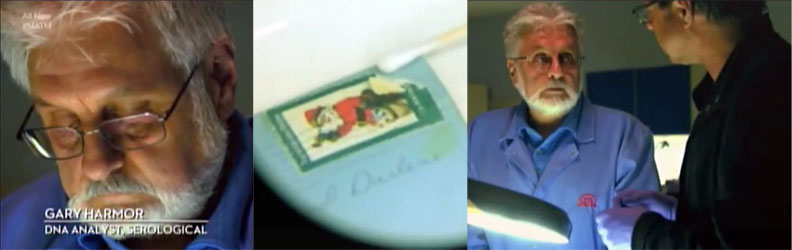
Gary Harmor demonstrates a method used to obtain DNA from old stamps and envelopes.

The narrator stated, “The actual Zodiac evidence was collected in a state lab in May 2018 who then sent the DNA to a genealogical lab in Florida.” Previous news reports, comments from law enforcement sources, and internet rumors indicated that investigators were still waiting to hear if the lab could retrieve usable DNA evidence, but the narrator’s statement created the impression that usable DNA had already been obtained and had been sent to a lab in Florida to be used in forensic genealogy research to identify the Zodiac. The narration may have been a simple mistake as misinformation continues to create confusion about the status of the investigation. If the narrator was correct, then attempts to identify the Zodiac using forensic genealogy may be proceeding.

Mysteries at the Museum also featured an unusual representation of the costume worn by the Zodiac during the attack at Lake Berryessa. Unlike previous recreations, the actor portraying the Zodiac appeared to be wearing a large, narrowed black bag with a white crossed-circle over the chest. This version of the costume apparently had no eye-holes, meaning the Zodiac would not be able to see during the attack.

MATM-Z-HOOD

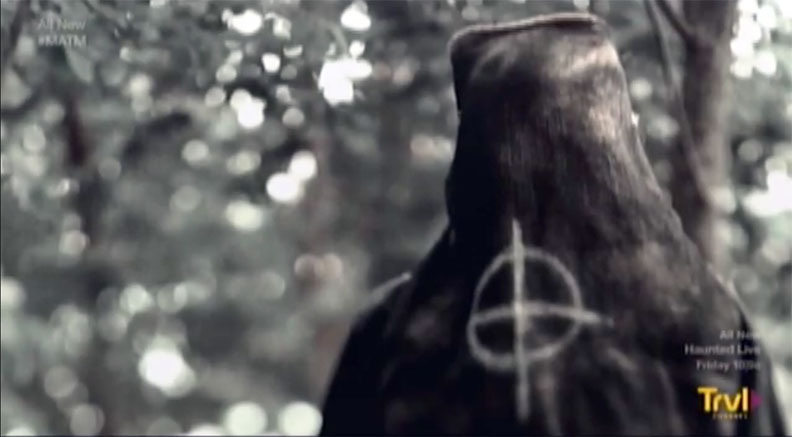
The Zodiac killer as depicted by Mysteries at the Museum.

The Travel Channel will rebroadcast the episode Mysteries at the Museum: Zodiac Killer on Sunday, October 7, 2018, and on Wednesday, October 10, 2018. Check local listings for channels and show times, and CLICK HERE TO WATCH PROMOS FOR THIS EPISODE.


In Cold Blood: The Murder of Paul Stine

Screen Shot 2016-10-10 at 2.44.03 AM

Forty-seven years ago, Paul Stine picked up a passenger in San Francisco, possibly near the intersection of Mason and Geary. Stine recorded the intended destination as the intersection of Washington and Maple, in the upscale neighborhood known as Presidio Heights. For some reason, the cab stopped one block further west at the intersection of Washington and Cherry.

normal_Paul_Stine_portrait_2

Paul Stine was twenty-nine years old, a student, and a husband. Driving the cab was paying the bills but he had other aspirations. When the passenger climbed into the cab shortly before 10:00 PM, Stine most likely thought that he would simply deliver the man to the designated destination, earn a little cash, and move on to the next fare.

No one knows if Stine and the passenger talked during the drive. The man had experience deceiving people. Just two weeks earlier, the man appeared at a popular recreation area wearing a strange hooded costume featuring a white crossed-circle. The man approached a young couple and told them that he had escaped from a prison and needed money and a car so he could flee to Mexico. He reassured the victims that he just wanted to rob them and tied them up so that he could make his escape. He then produced a foot-long knife and stabbed the victims.

normal_Lake_Berryessa_Car_door_at_crime_scene

When he was finished, the man walked over to the victim’s car and used a black marker to write a message on the passenger door. A large crossed-circle was followed by the dates of two previous attacks and the location “Vallejo.” Then, the killer added the date, the time, and words, “by knife.” He then traveled more than twenty miles to a payphone where he called police to report the crime.

Paul Stine may have heard about the man who called himself “the Zodiac,” but he had no reason to suspect that the deranged killer was sitting in his cab. The passenger apparently waited until they reached the final destination to reveal his true purpose. The man took out a gun and shot Stine in the head.

Across the street, some kids watched as the man handled the driver’s seemingly lifeless body. He got out of the cab and walked around to the driver’s side where he appeared to wipe the vehicle with a cloth or a rag. The man then walked away, taking with him a large piece of Stine’s blood-stained shirt.

normal_Paul_Stine_shirt_in_police_custody_w_Zodiac_scrap

The crime appeared to be a routine robbery and murder until an envelope arrived at the office of the San Francisco Chronicle newspaper. The letter inside stated, “This is the Zodiac speaking. I am the murderer of the taxi driver over by Washington & Maple St. last night. To prove this here is a blood stained piece of his shirt.” The envelope did contain a piece of Stine’s shirt which established a direct connection between the writer and Stine’s murder.

The Zodiac deviated from his previous pattern of attacking young couples in areas known as “lovers lane” spots. Paul Stine was a cab driver, working alone and just doing his job when he was killed in a residential neighborhood. The killer previously used his own car and attacked two couples sitting in parked vehicles. Paul Stine was driving his cab and he transported the killer to the scene of murder. The killer had not taken anything from the other victims but he did remove a piece of Stine’s shirt.

Stinekiller

In subsequent letters, the Zodiac stated that he would no longer announce his murders and that he would disguise his crimes as routine robberies, killings of anger and fake accidents. References to other victims fueled speculation that the Zodiac continued killing but authorities were unable to confirm any Zodiac crimes after the murder of Paul Stine. Other Zodiac mailings included more scraps of Stine’s shirt but the Zodiac apparently kept the still-missing piece along with the keys to the cab and Paul Stine’s wallet.

The only known police sketch of the killer was produced by witnesses in the Stine case. Police believed that fingerprints found on the outside of the cab belonged to the Zodiac. The letter and the piece of Stine’s shirt provided a direct link between the murder and the writer of the Zodiac letters. Forty-seven years later, the Zodiac crimes remain unsolved and the case is part of true crime history. The murder of Paul Stine serves as a window into the past and a rare glimpse of the mysterious Zodiac killer

* * * 

Michael Butterfield is a writer and a recognized expert on the unsolved “Zodiac” crimes. He has served as a media source and consultant for news articles, television documentaries, and director David Fincher’s major motion picture Zodiac. Michael Butterfield appears in the Zodiac documentary Case Reopened and The History Channel series MysteryQuest. He has been a featured guest on Ireland’s Sean Moncrieff Show and House of Mystery with Alan R. Warren. He is also a contributing author for the eZine True Crime: Case Files, True Crime Magazine, and the two volume collection of essays titled A History of Evil in Popular Culture, both available at Amazon.com.

Click on the links below to view official documents, photographs, police sketches, newspaper articles, videos and more about this unsolved case.

THE VICTIM

Paul Stine

THE SCENE OF THE CRIME

Washington and Cherry Streets – October, 1969

THE CRIME SCENE

Crime Scene Photographs

THE EVIDENCE

Paul Stine’s Shirt

The Fingerprints

THE INVESTIGATORS and OTHERS

San Francisco Investigators and Others

THE SUSPECT SKETCHES

Sketches of the Suspect

THE ZODIAC’S LETTERS

The Zodiac’s Envelope and Letter

THE ARTICLES

Newspaper Stories and Other Material

THE JOE STINE FILES

Paul Stine’s Brother Joe

THE DOCUMENTS

Paul Stine: Record of Death

Paul Stine: Certificate of Death

Report by SFPD Officer Armand Pelissetti

Excerpt from Dept. of Justice Report on Stine Case

Memo on the Zodiac Sighting by SFPD Officer Don Fouke

THE VIDEOS

Paul Stine’s Cab

The Crime Scene: Washington and Cherry Streets

A Possible Escape Route

SFPD Officer Don Fouke on the Zodiac Sighting

SFPD Captain Martin Lee on the Zodiac’s Threat to Attack a School Bus

SFPD Captain Martin Lee on the Zodiac’s Crossed-Circle Symbol

SFPD Captain Martin Lee on the Zodiac’s State of Mind